
Prerequisites
Please log in to the Game Panel. For information on how to log in to the Game Panel, please see here
Revision History
- 1.0:
- Creation Date: 2024/8
- Update Details: Initial creation
- Created by: BESTNET-GSERVER
STEP1. Wait for Installation to Complete
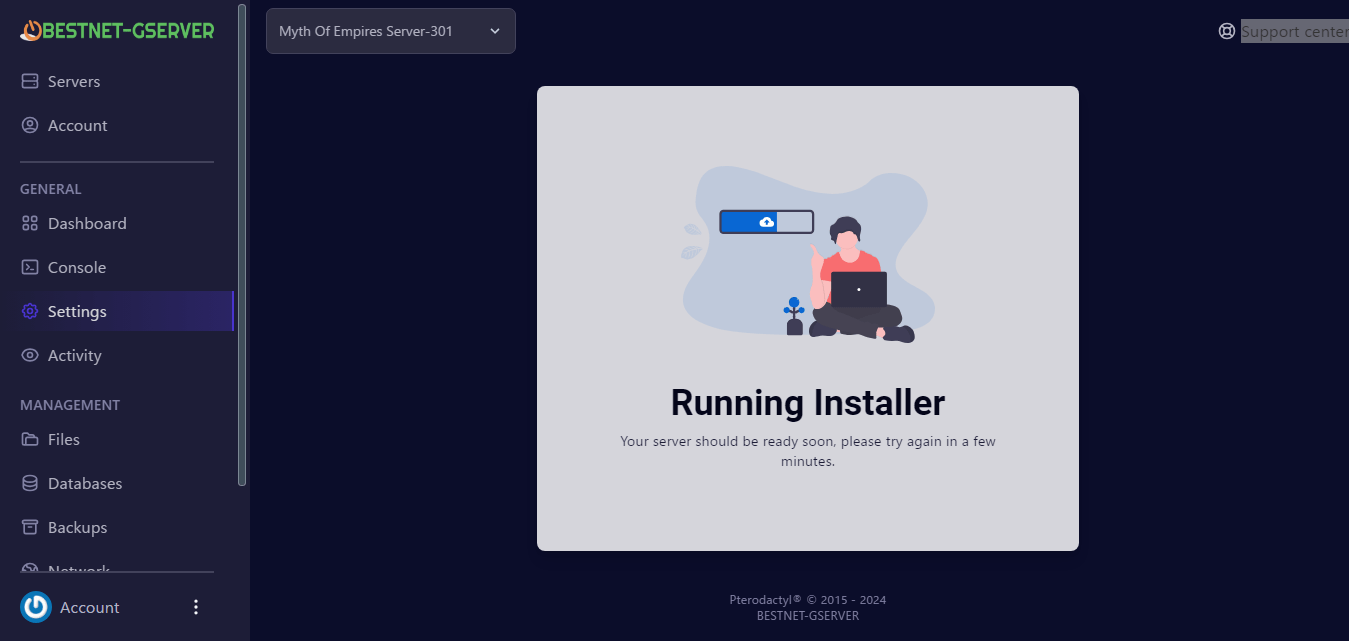
Once you complete your application and the service status becomes active, installation of the game server will begin. During installation, the screen will appear as shown in the image below, and most information will not be visible. This screen will end in a few minutes.
Once the server installation is complete, an installation completion message will be sent from our Game Panel system to your email address.
STEP2. Confirm Game Port
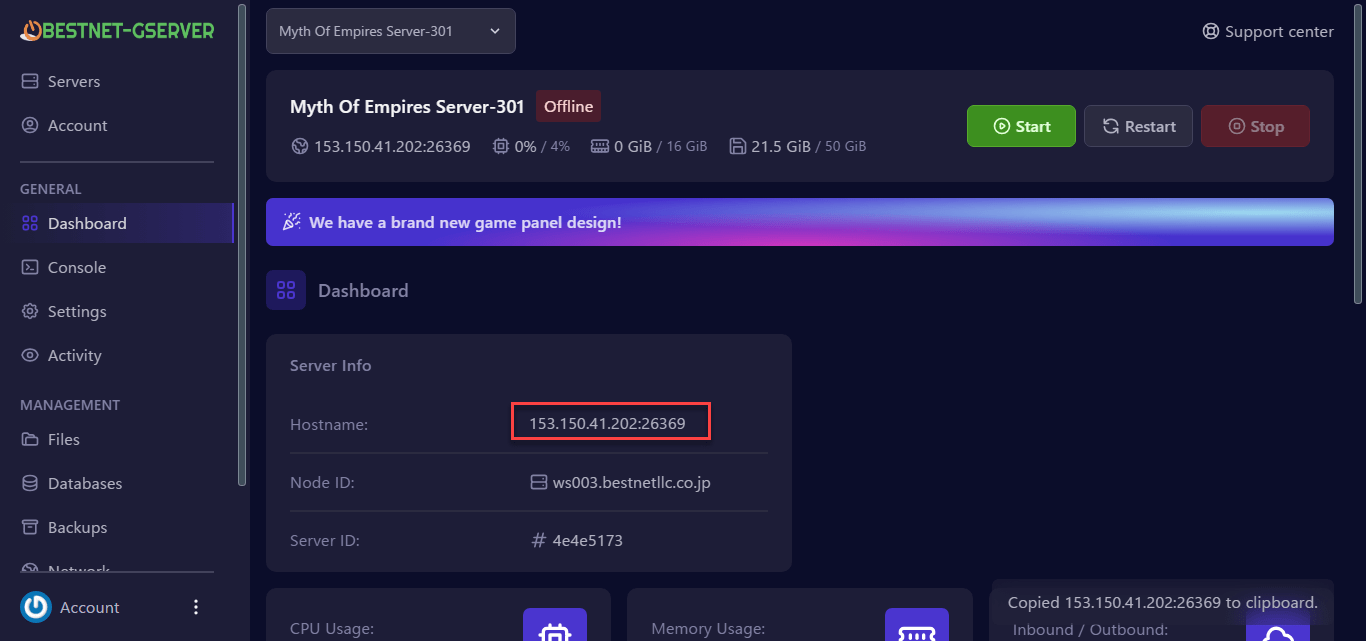
You can confirm the game port in the Server Console of the Game Panel. In the case of the image below, the port number is 26369. Clicking on the area marked with a red frame in the image will automatically copy it.
STEP3. Add Port Allocation
The SOUL MASK game server requires 1 additional port besides the game port. Navigate to the ‘Network’ tab in the Game Panel and click the ‘CREATE ALLOCATION’ button once. This will add 1 port as shown in the image below. ※To avoid confusion, there is a feature to note the role of each port. In the image below, the role of each port is noted.※
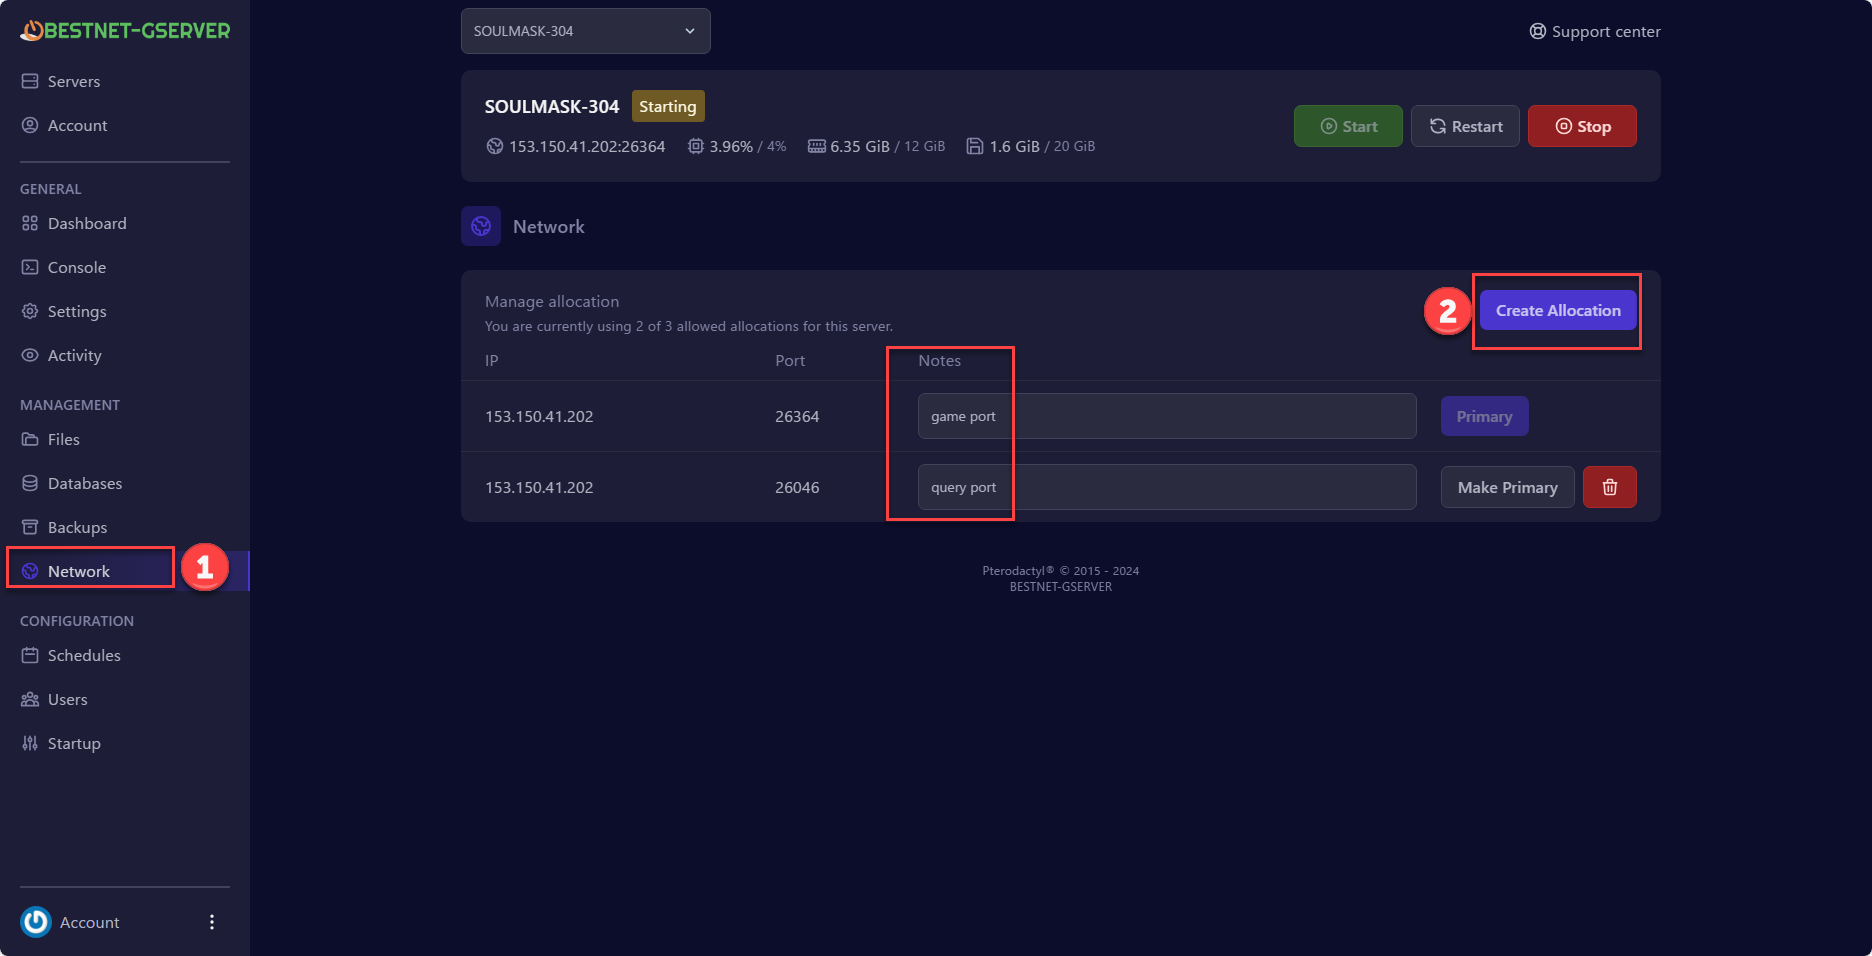
The additional 1 port (in the reference image):
1:26364=Game Port
2:26046=Steam Query
STEP4. Configure Steam Query
You need to make the game server recognize the additionally allocated port number.
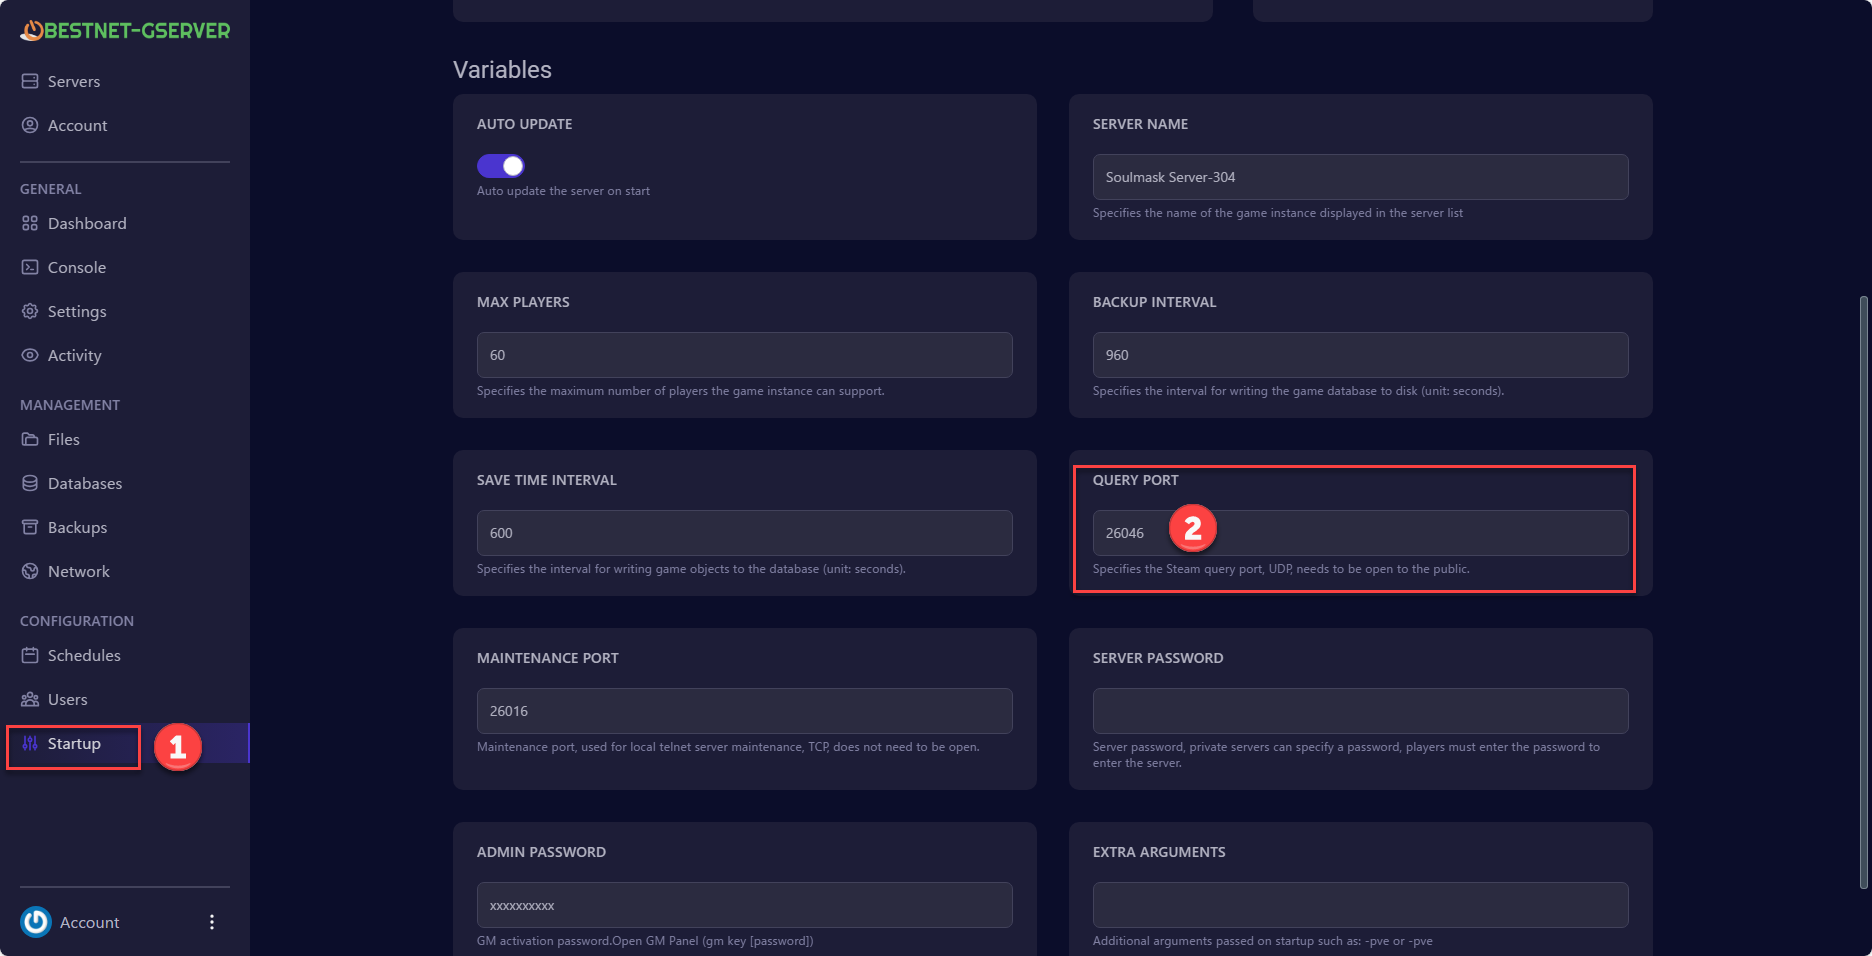
Click “Startup” in the right menu of the Game Panel, and simply enter the additionally allocated port number in the “Query Port” setting box.
In this article’s example, enter port number 26046 that was allocated in the previous step.
STEP5. Apply Settings
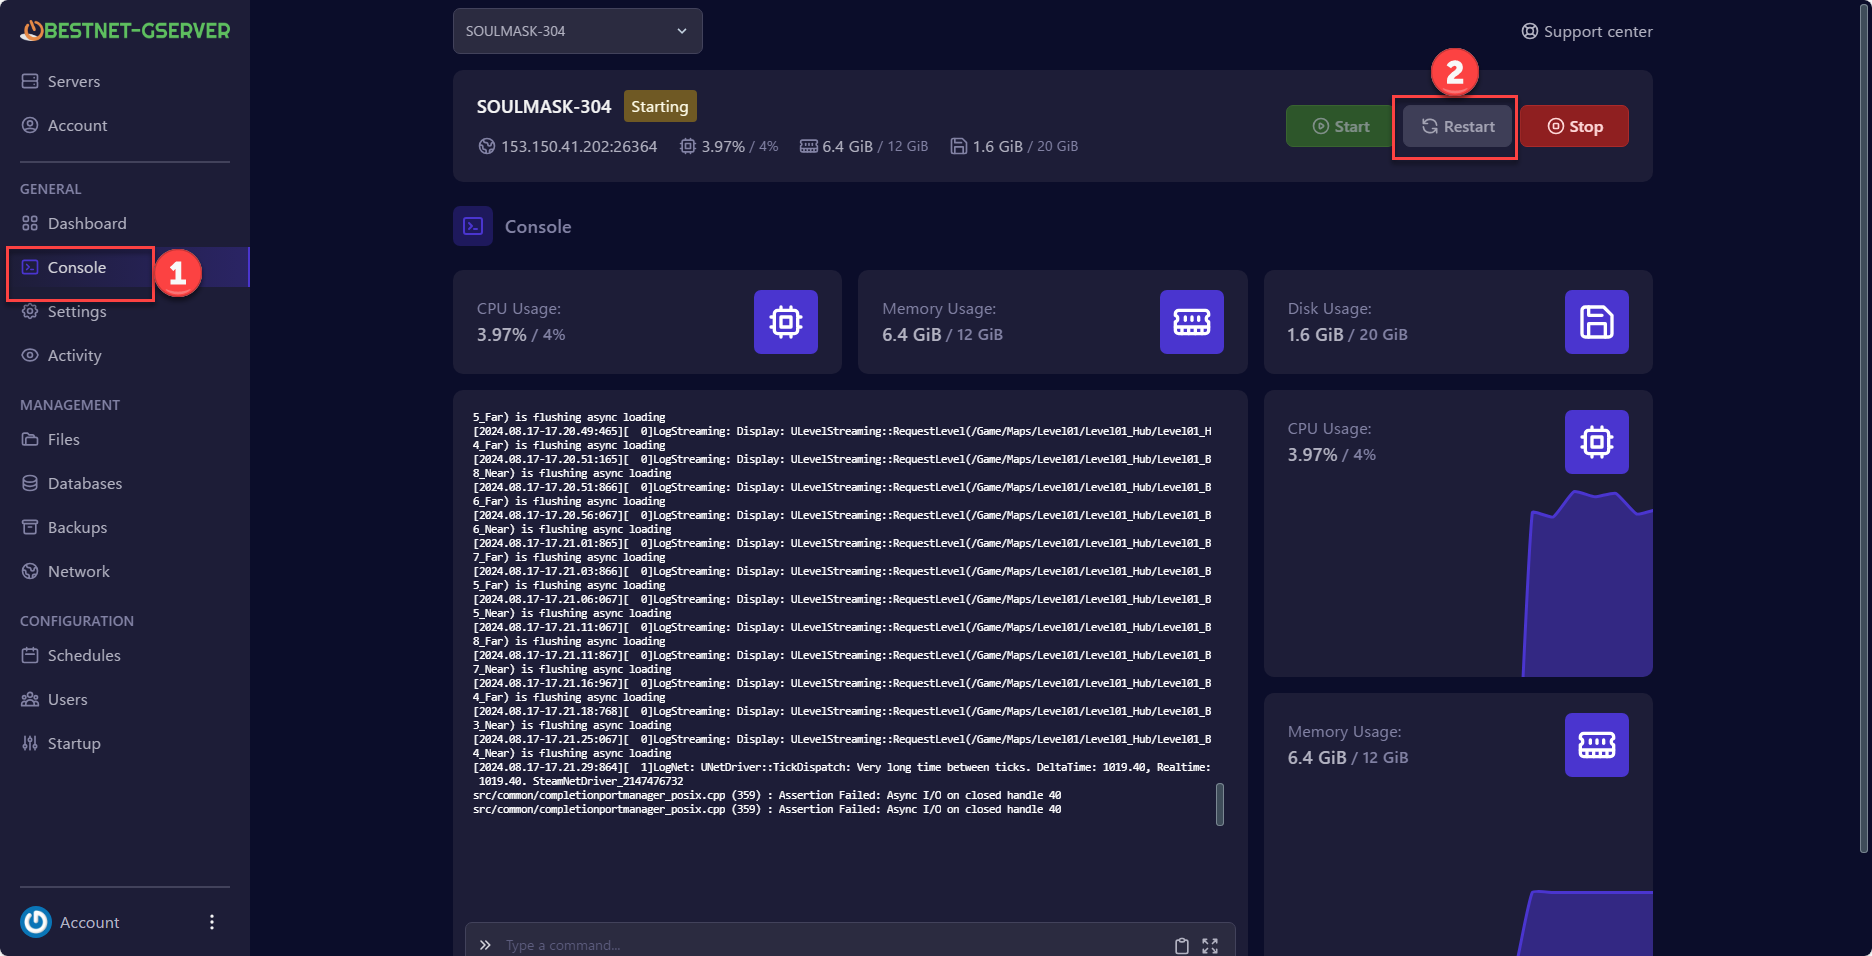
To apply these settings, you must restart the server. Navigate to the ‘Console’ tab and click the ‘Restart’ button to perform the restart.
If you have any other questions, please submit a ticket.