
⚓ Windrose Game Server – Initial Setup
Please log in to the game panel. How to log in to the game panel
Table of Contents
This guide covers the initial setup procedure for a Windrose dedicated server using the BESTNET-GSERVER game panel.
Windrose game servers require 1 query port in addition to the game port.
| Version | Created | Update Details | Author |
|---|---|---|---|
| 1.0 | 2026/4 | Initial Creation | BESTNET-GSERVER |
Once you have completed your order and the service status becomes active, the game server installation will begin.
During installation, most information will not be visible. This screen typically completes in a few minutes, but may take tens of minutes if the server load is high or the installation files are large.
Once the server installation is complete, an installation completion message will be sent to your email address from our game panel system.
The Windrose server automatically generates a world on first startup. Please wait until the status becomes Online.
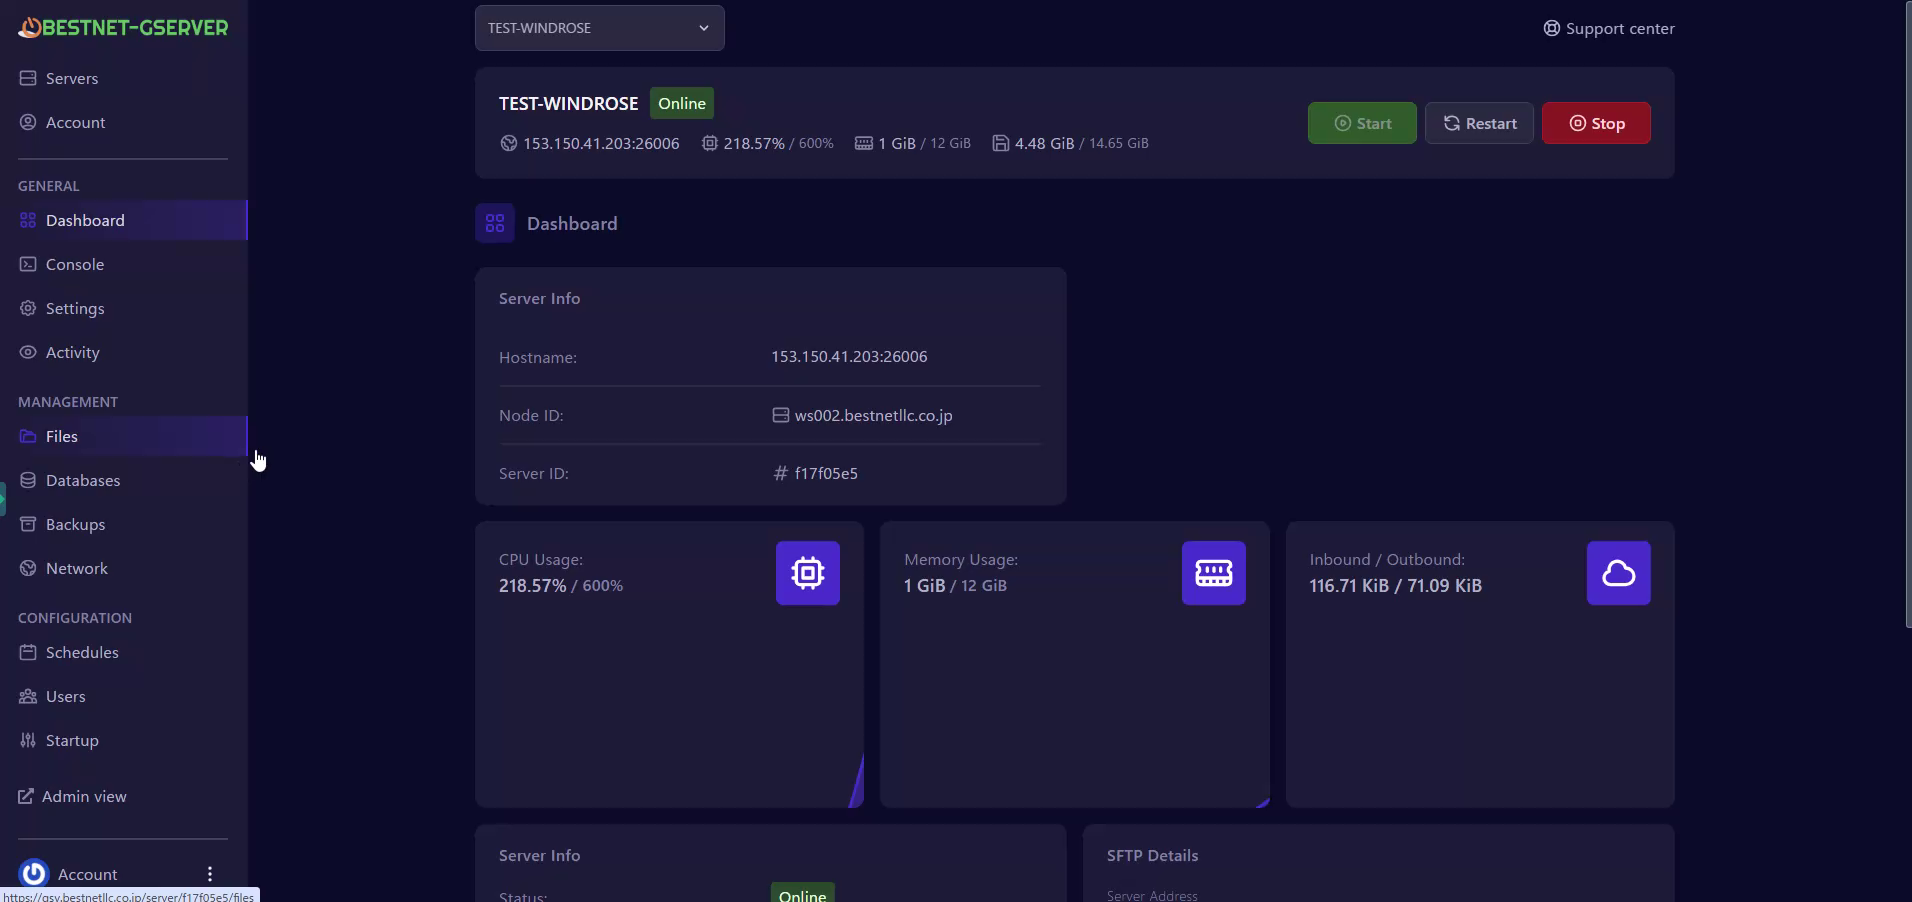
▲ Server status is Online
You can check the game port in the game panel dashboard.
In the image below, the Game port number is 26086. Clicking the Hostname field will automatically copy it.
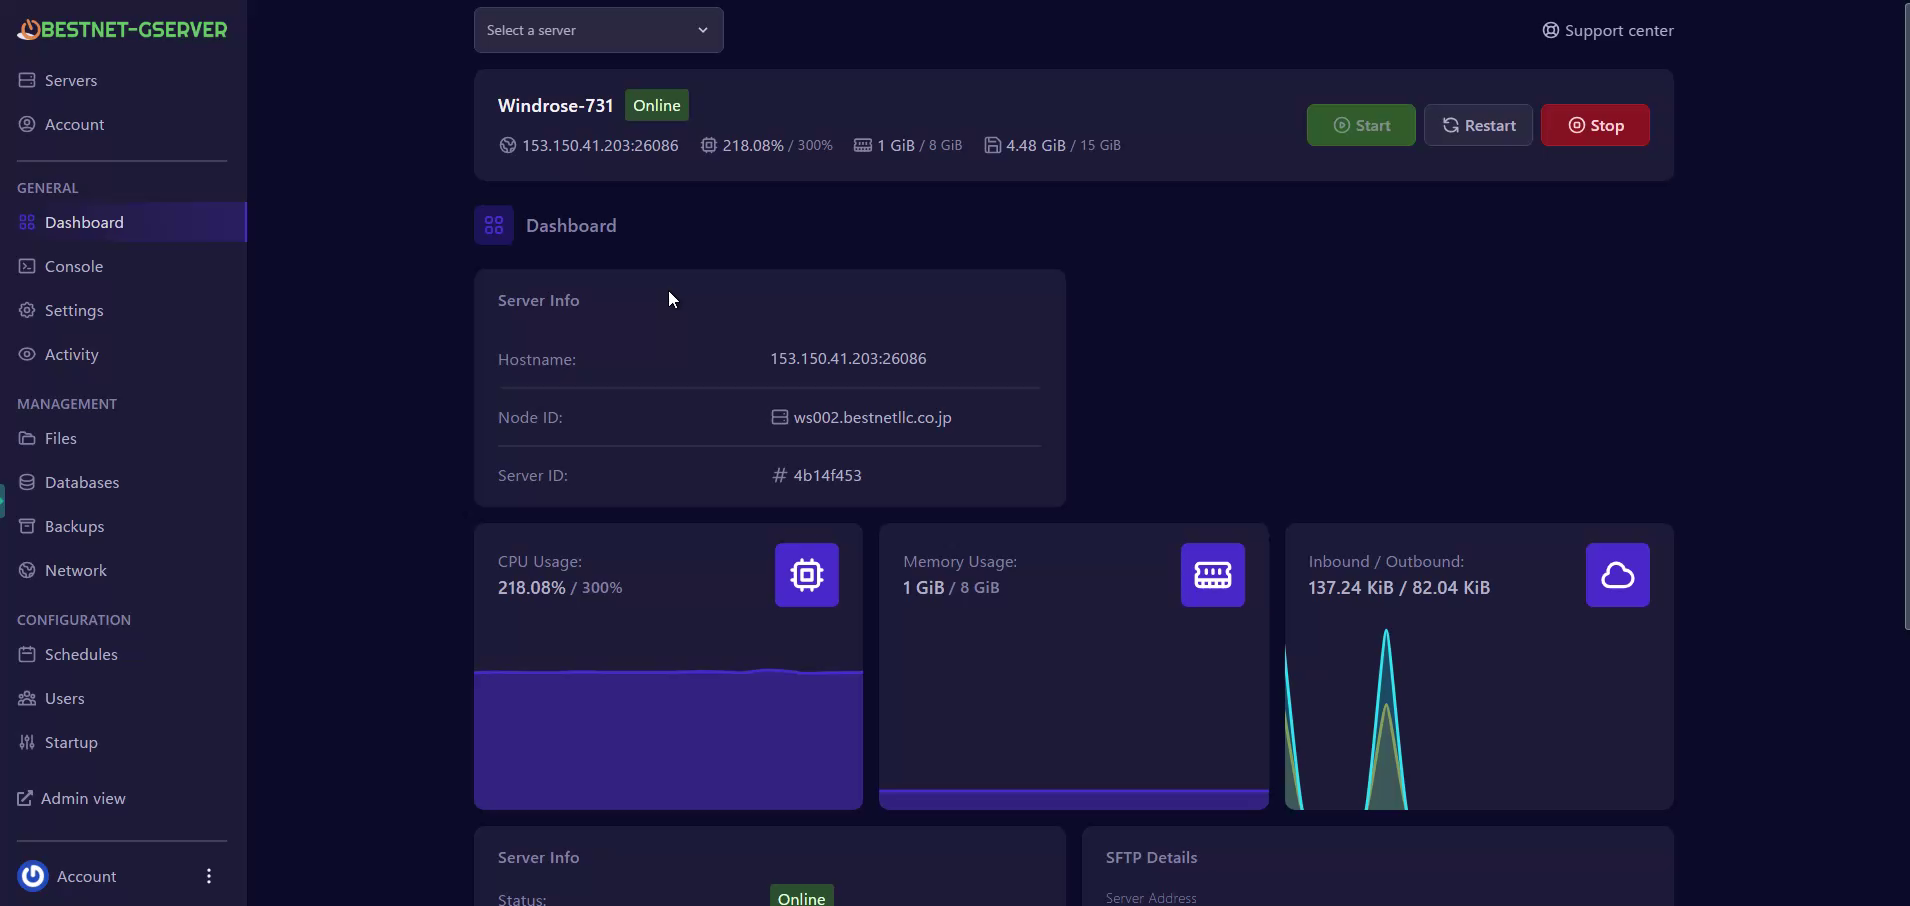
▲ Game port number is displayed in the Hostname field
Windrose game servers require 1 query port in addition to the game port.
Go to the Network tab in the left menu of the game panel and click the Create Allocation button once.
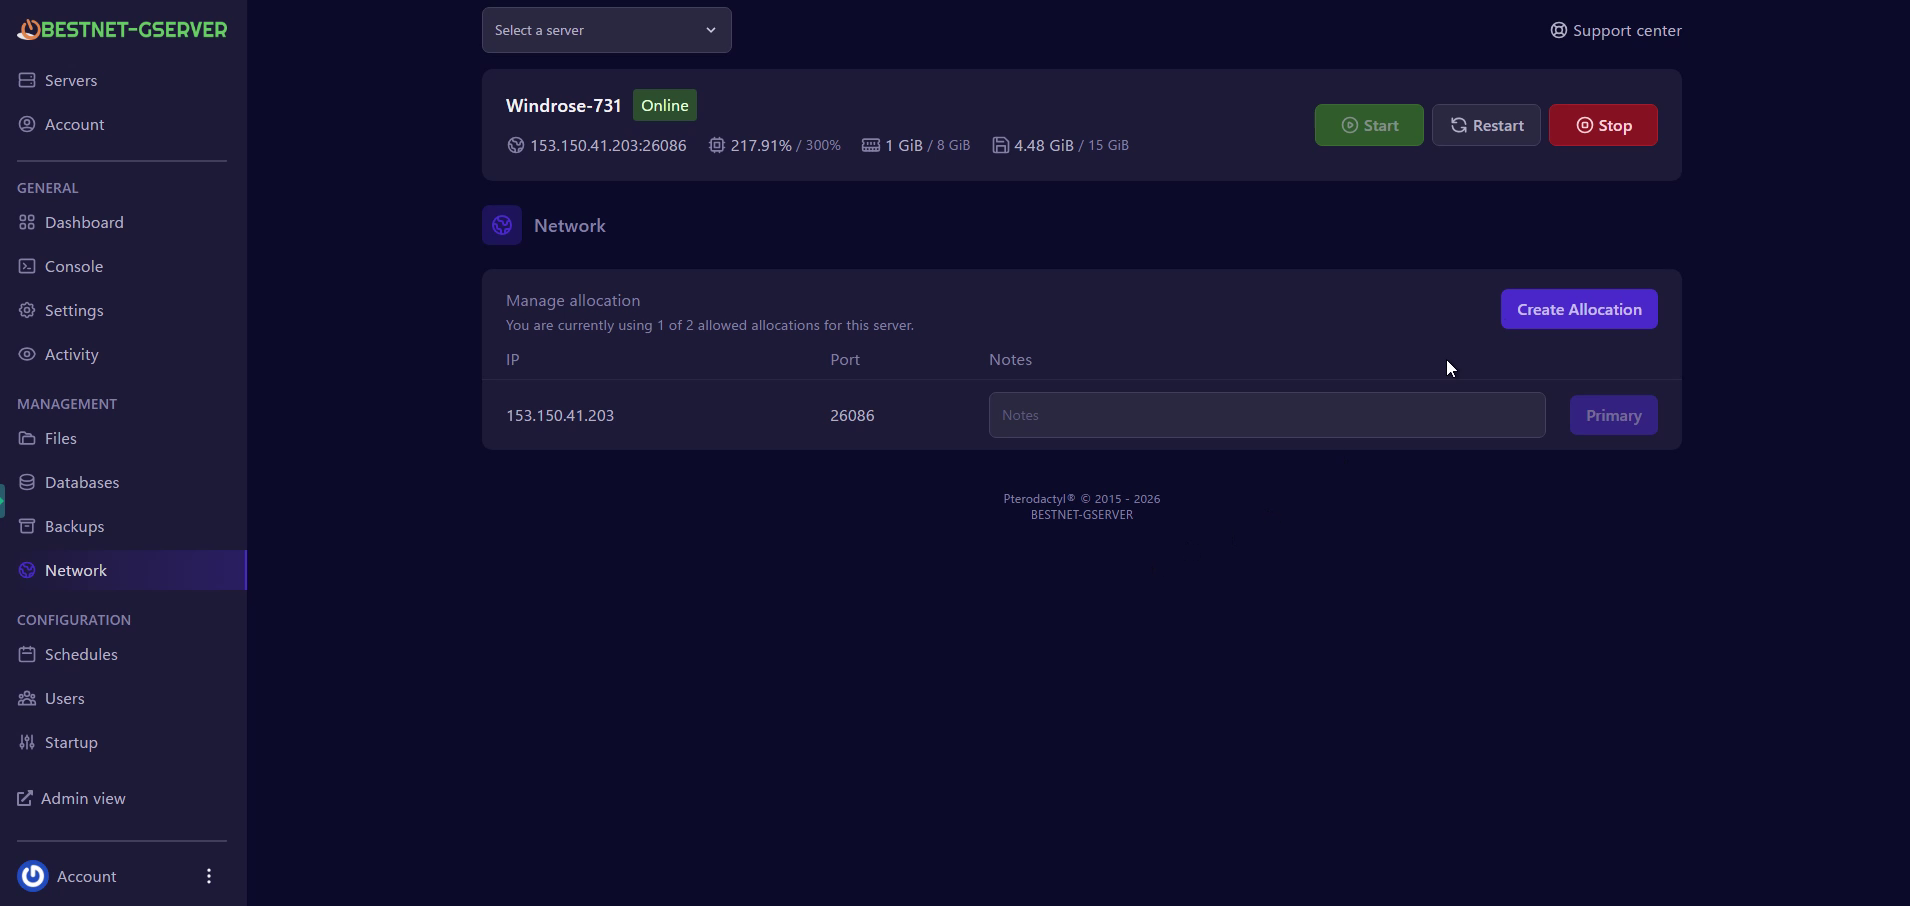
▲ Before allocation: Game port only (1 of 2)
Then, one port will be added as shown in the image below.
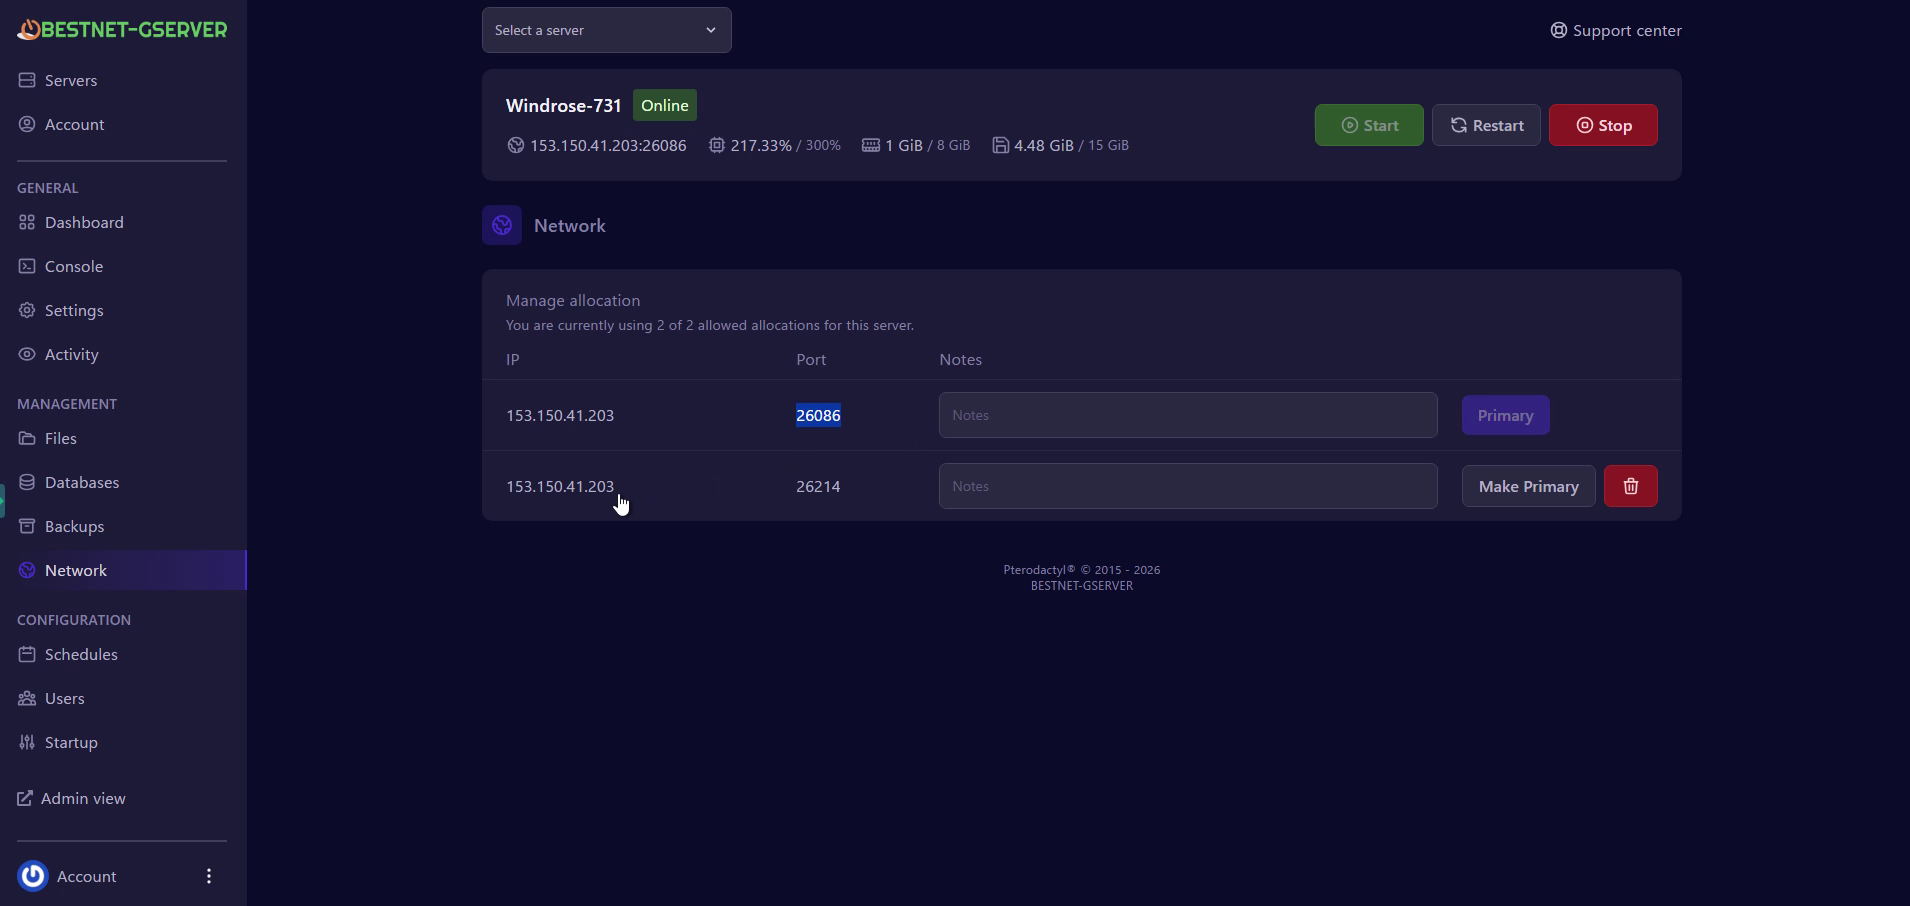
▲ After allocation: 2 ports are displayed (2 of 2). Please note the newly added port number.
1: 26086 = Game Port (Primary)
2: 26214 = Query Port (Additional Allocation)
You need to make the game server recognize the newly allocated port number.
Click Startup in the CONFIGURATION section of the left menu, and enter the newly allocated port number in the QUERY PORT configuration box.
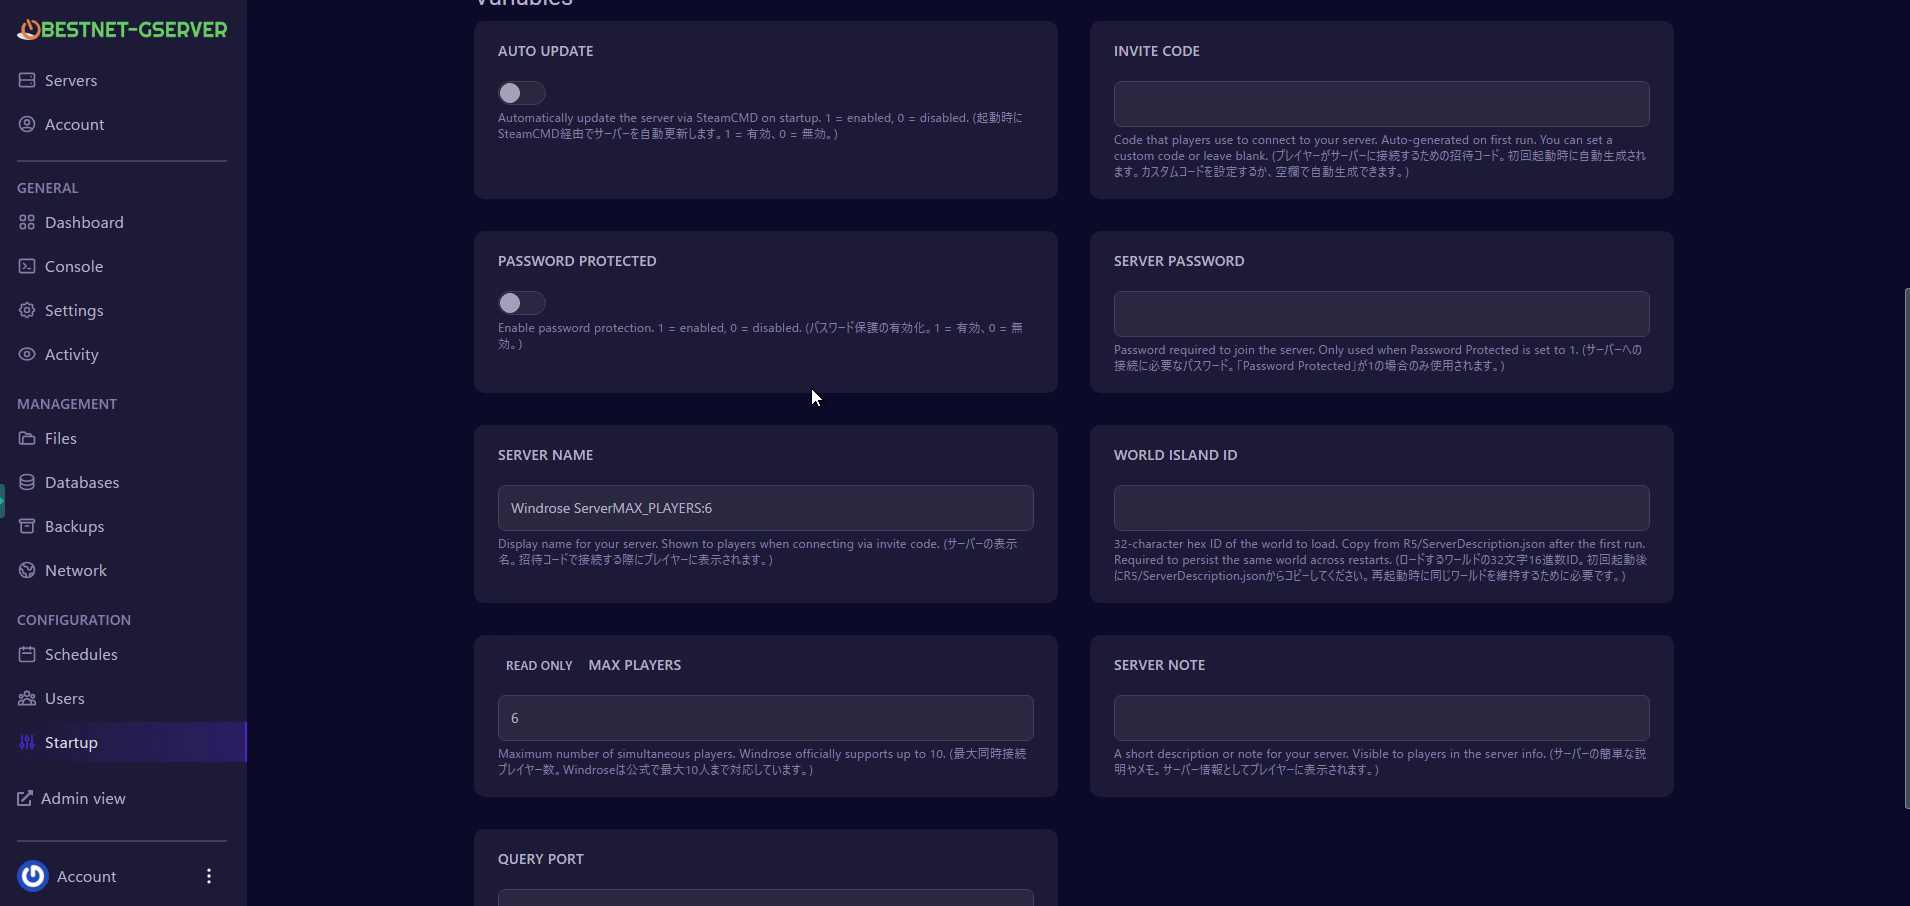
▲ Variables list in the Startup tab. Scroll down to see QUERY PORT.
In this article’s example, the port number 26214 allocated in the previous step is entered in the QUERY PORT configuration box.
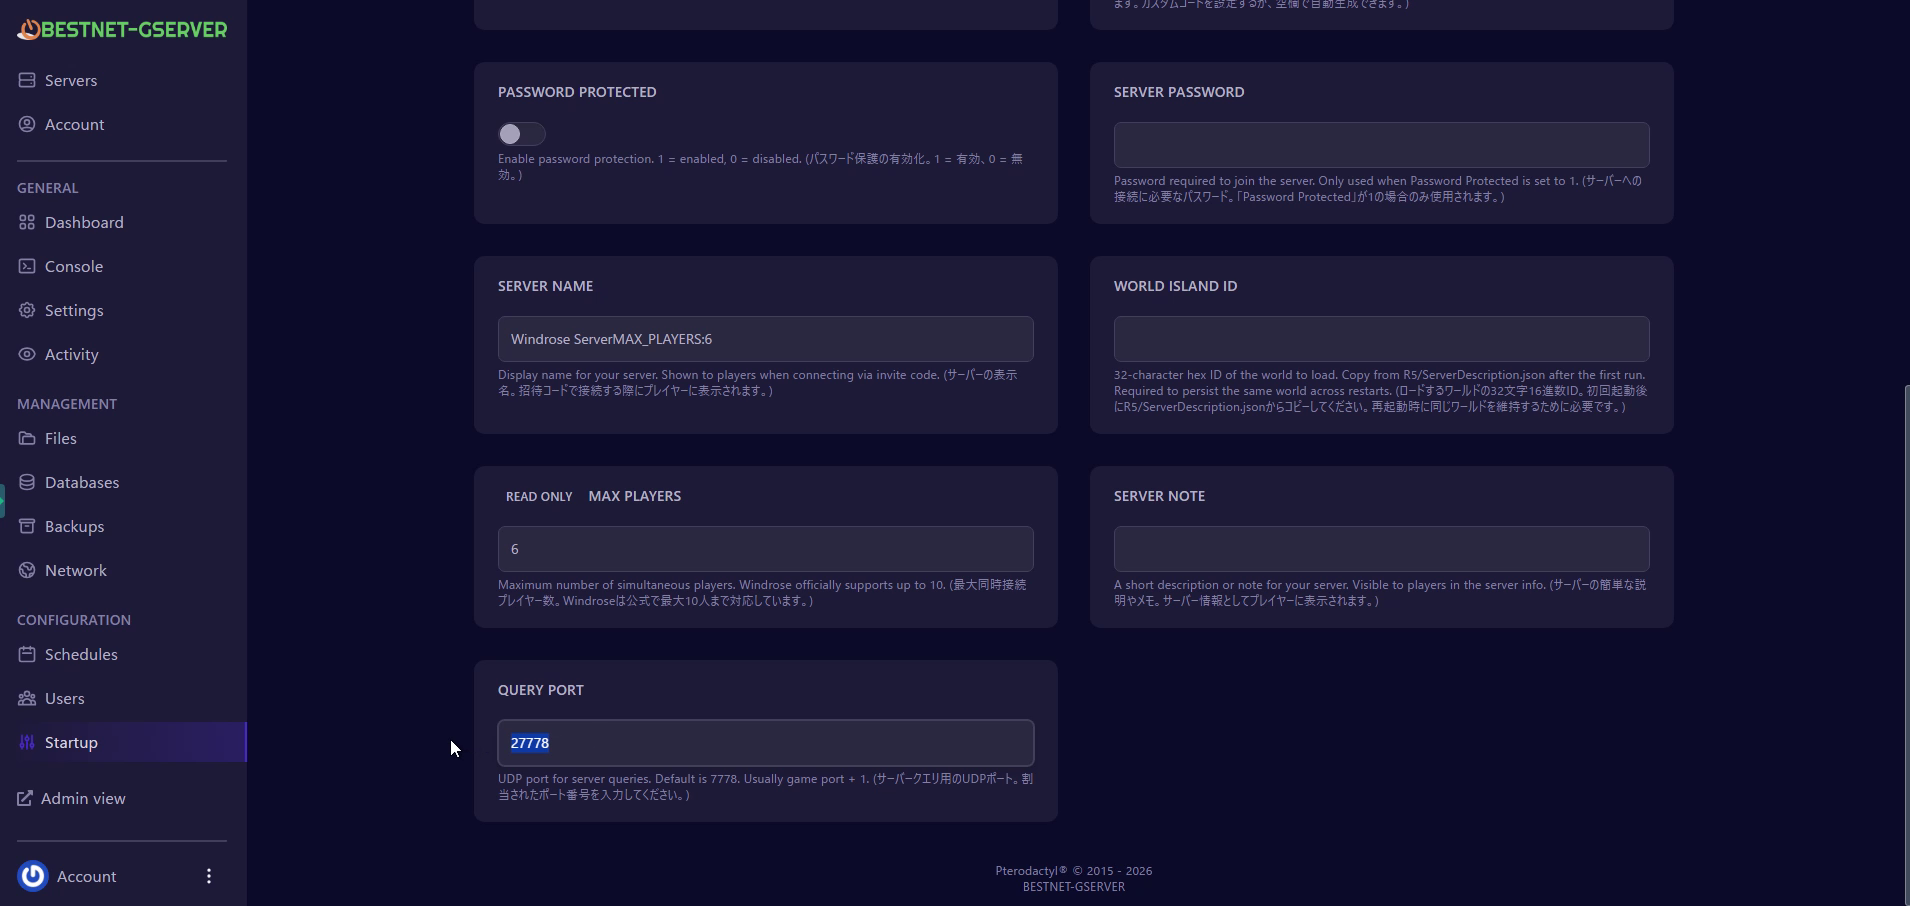
▲ Enter the allocated port number in the QUERY PORT field
When the server starts for the first time, an invite code (InviteCode) and world ID (WorldIslandId) are automatically generated. These values can be checked from the file manager.
Click Files in the left menu and open the R5 folder.
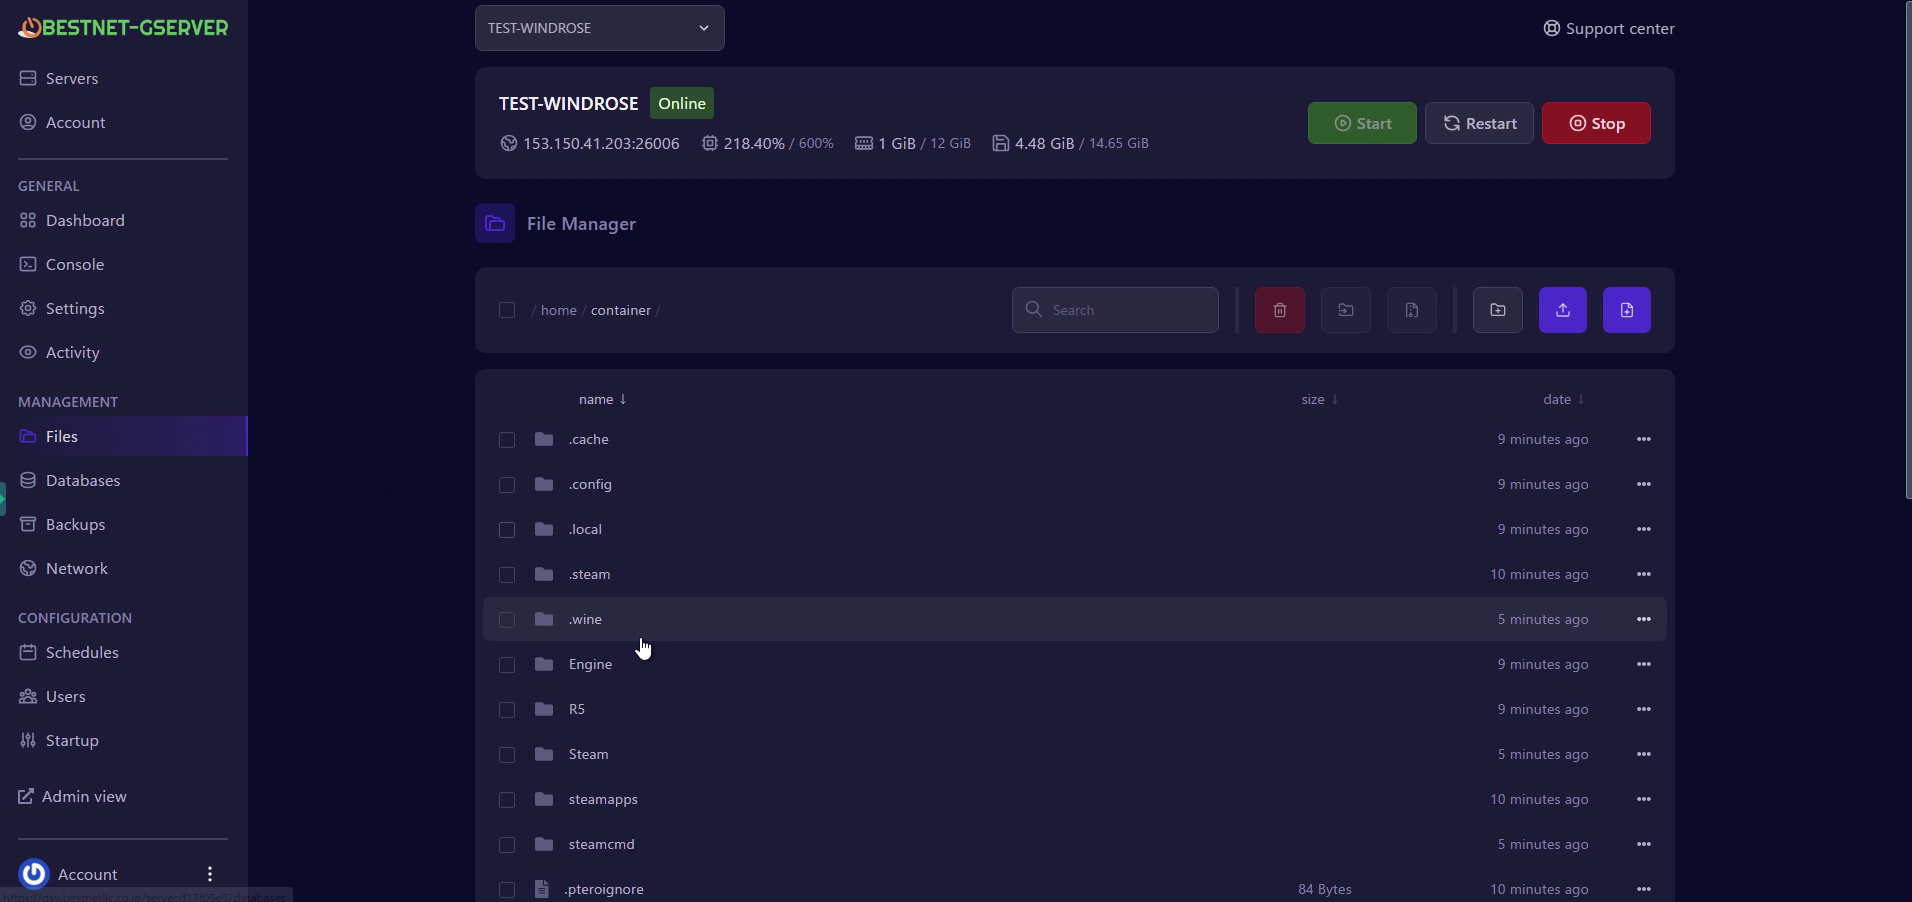
Click ServerDescription.json in the R5 folder to open it.
container/
R5/
ServerDescription.json
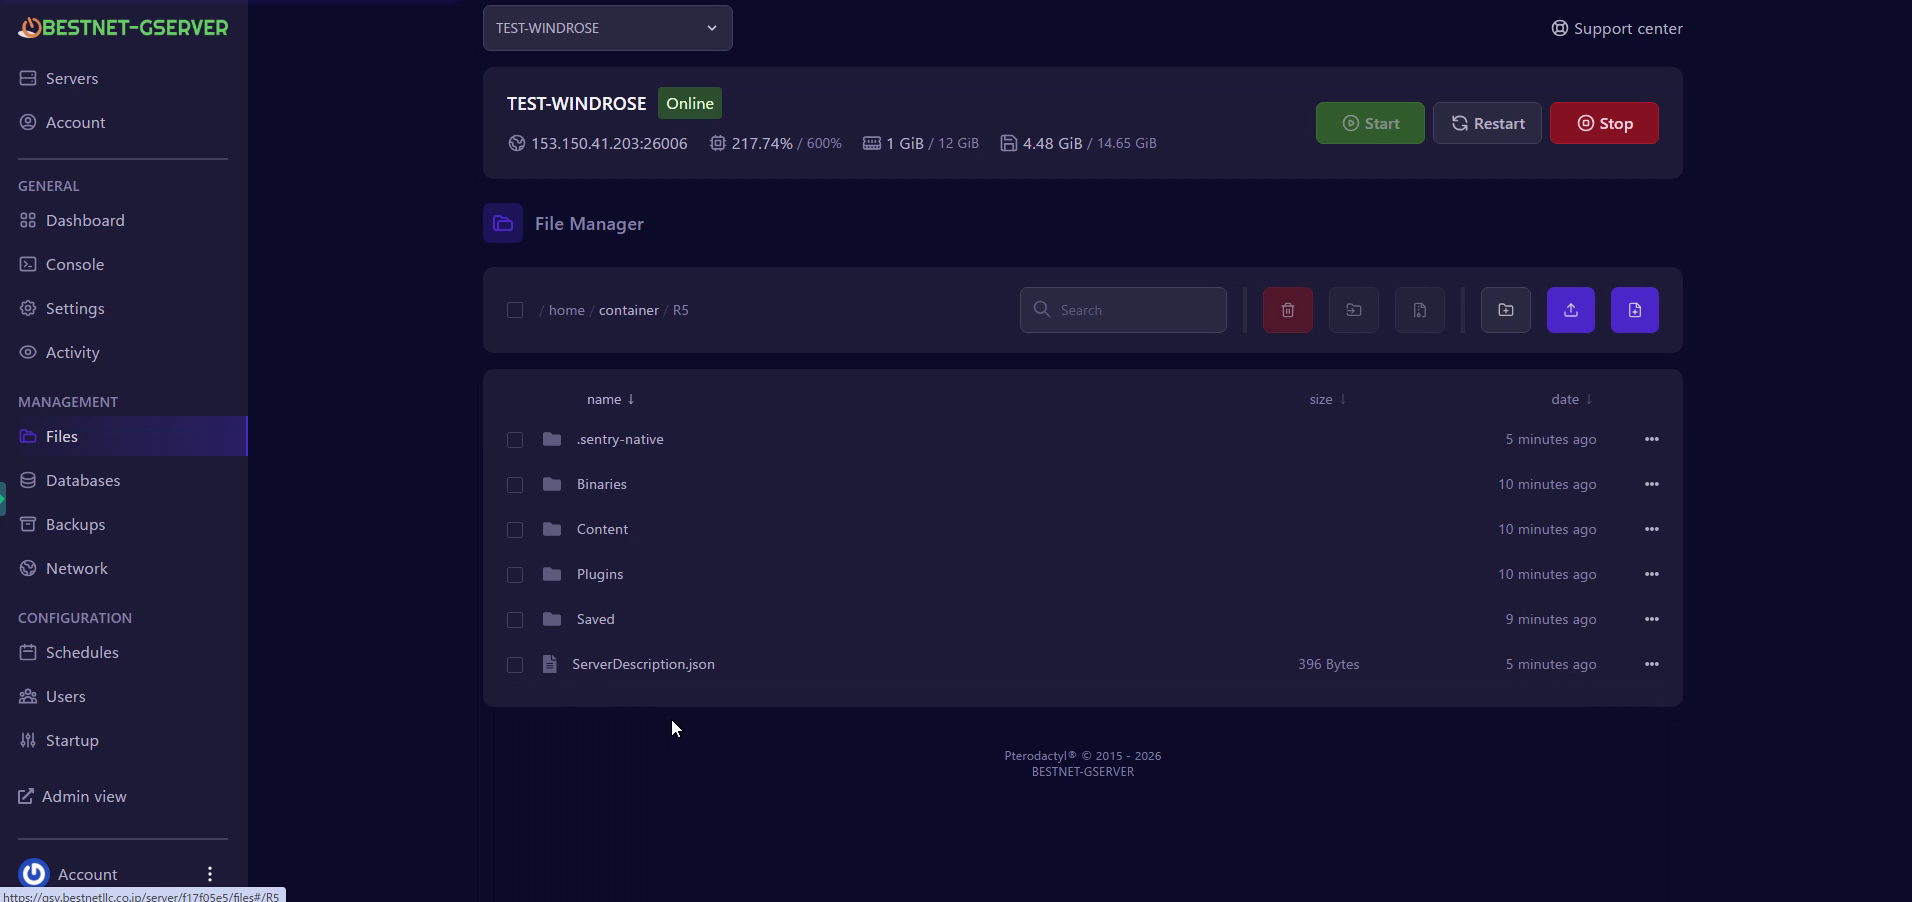
The file contains the following 2 important values:
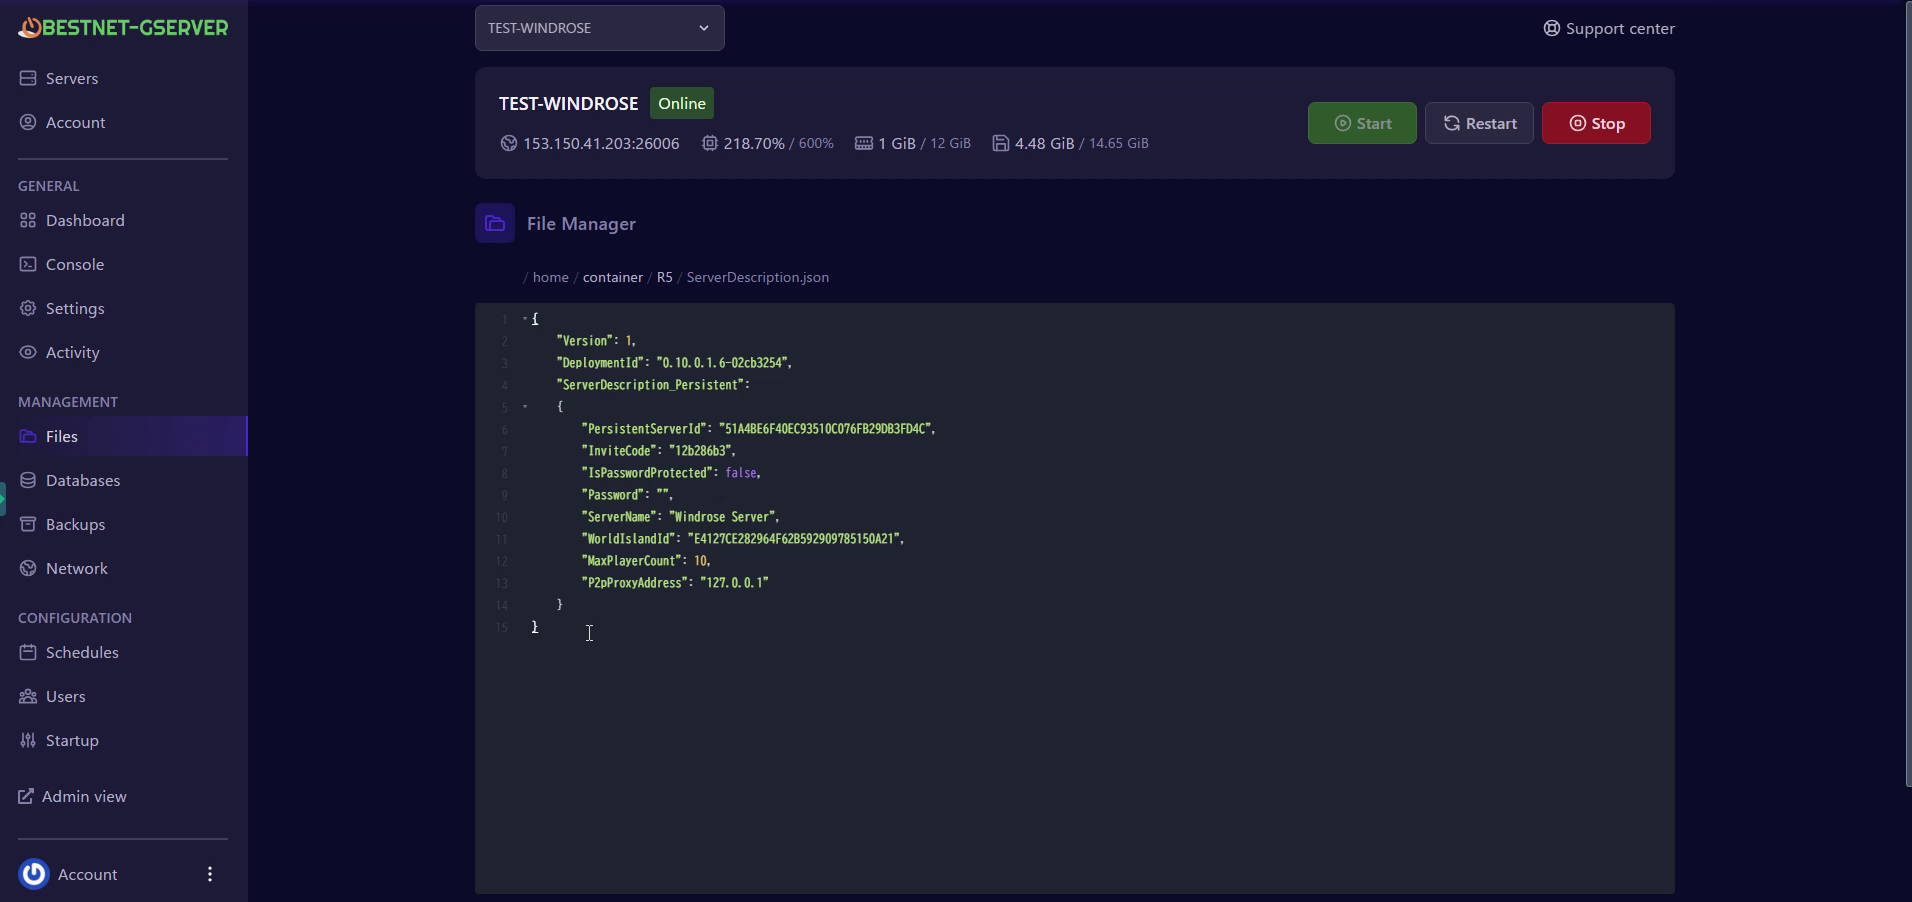
This is the code for friends to connect to the server. Share it with your team.
Example: 12b286b3
A 32-character hexadecimal string that identifies the world. You will need to copy this in the next step.
Example: E4127CE282964F62B592909785150A21
Click Startup in the CONFIGURATION section of the left menu. Find the WORLD ISLAND ID field and paste the 32-character value you copied in the previous step.
If you do not perform this procedure, a new world will be generated each time the server restarts, and your progress may be lost!
Once all settings are complete, restart the server to apply the settings.
Return to the dashboard and click the Restart button.
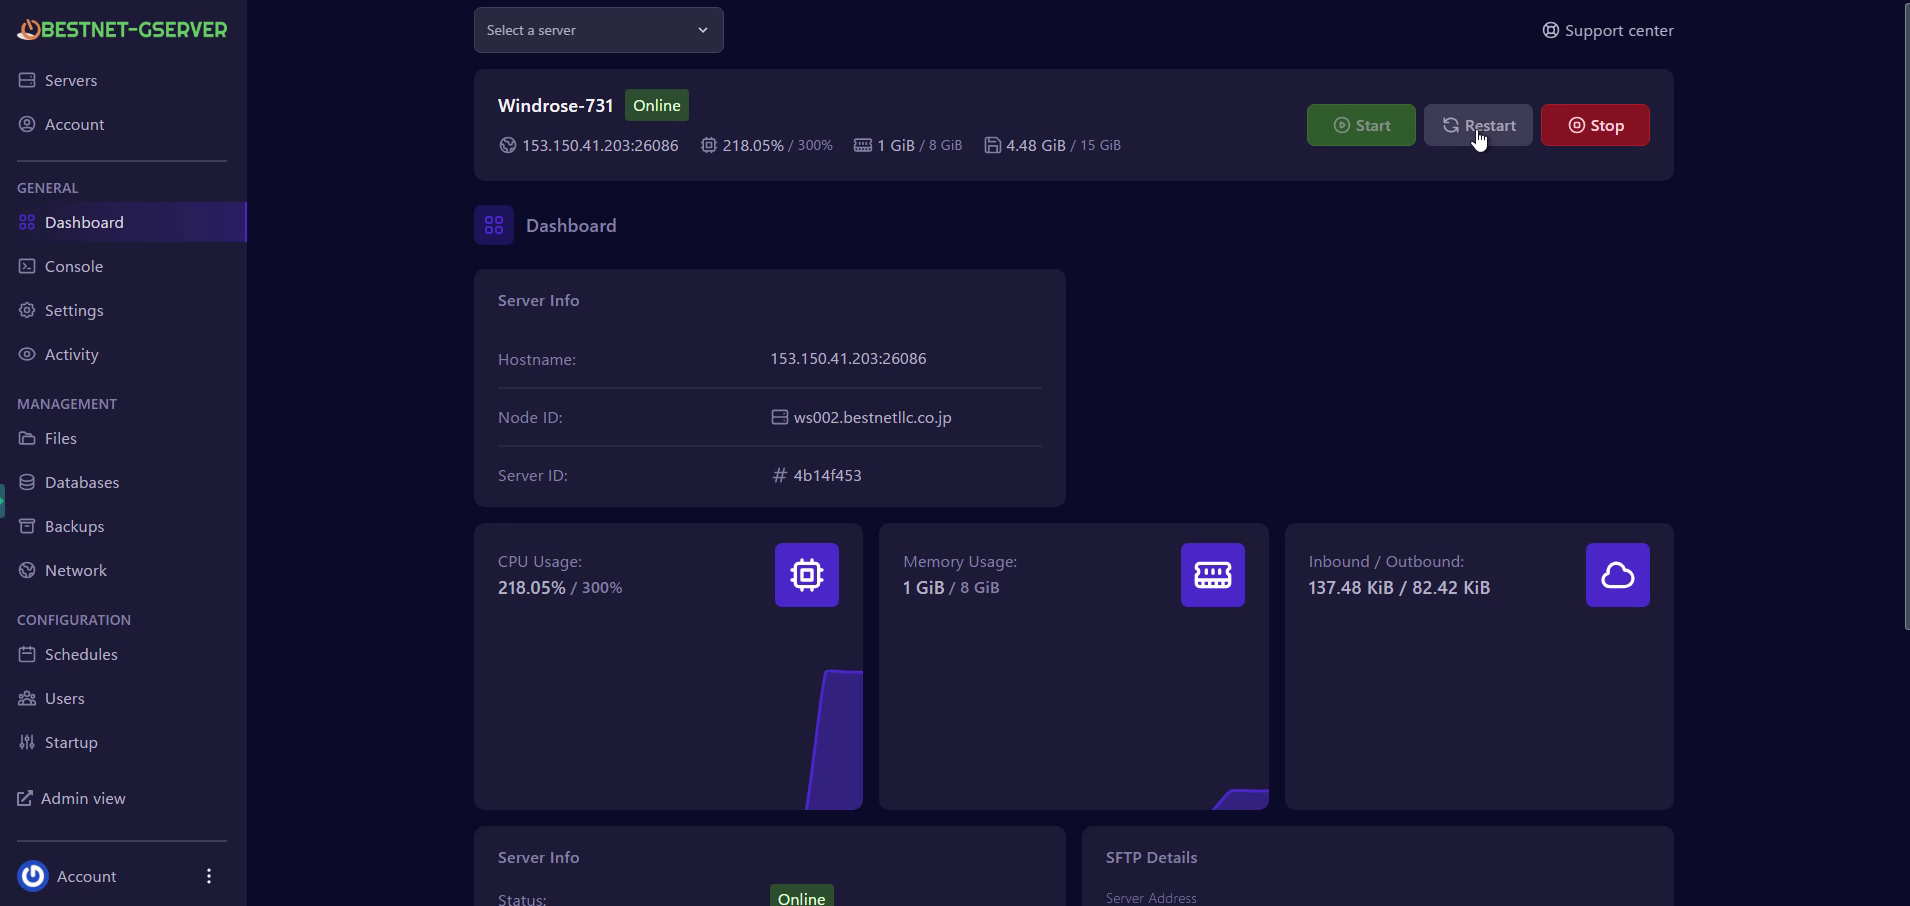
▲ Click the Restart button to restart the server
After restart, if the status returns to Online, the setup is complete.
Connect using the following procedure in the Windrose game client:
Play → Connect to Server → Paste Invite Code → Connect
The invite code is also displayed in the server console log. Look for the following line:
InviteCode : xxxxxxxx
Windrose uses a invite code system instead of traditional direct IP address connection. Server browser or IP:port input is not required. You only need to share the invite code for teammates to connect.